In a perfect world, all floor and wall tiling installations would feature precise alignment, consistent grout joints and a perfectly level finish, with no lips between tiles. Life, of course, isn’t perfect… but thankfully, tile levelling systems do exist. In this article, we’ll explain what they are, how they work and when you should use them (hint - almost always!)
What are tile levelling systems
Unfortunately, tile lippage - where the edges of one tile are higher or lower than the edges of an adjacent tile - is a thing. Not only is this unattractive, lips between floor tiles can easily cause a trip hazard. And it’s a fact if life that as tiles get larger, the potential for lippage only increases - especially with certain laying patterns.
Read more - How To Prevent Lippage When Tiling Floors
However, this is where tile levelling systems come in. As their name suggests, they’re designed to level tiles, giving you a finished floor that’s even and consistent. The benefits are obvious:
- There’s no unsightly lips
- There’s no potential for trips
- The bond between the tiles and substrate is stronger
- Tiles can’t move as the adhesive cures and shrinks
- They’re likely to save time and money
Another key benefit is that levelling systems provide a clear and quick quality check during larger installations. Without the use of a levelling system, it’s very easy to miss checking a single joint, resulting in lippage in an otherwise perfect installation. However, by using a levelling system, your tiler is reminded to ensure every single joint between each tile is parallel and level.
How do tile levelling systems work?
Although numerous tile levelling systems are available, the principle behind them is usually the same. They tend to consist of three separate components, which work in tandem:
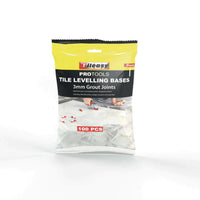
- The levelling bases, which act as a spacer between adjacent tiles
- The levelling wedges, which ensure a flat transition between tiles
- The levelling pliers, which are used to adjust the wedges and tile surface
Although the bases can only be used once are they are fixed in place, the wedges and pliers can be re-used on your next tiling project.
How to use a tile levelling system
Tile levelling systems are straightforward to use and will add hardly any time onto your project. The guidelines below are for our Tileasy Levelling System but may apply to other levelling systems, as well.
- Lay the first tile down
- Insert two or more levelling bases under one edge of this tile
- Place the adjacent tile down, over the levelling bases
- Insert the narrow end of a levelling edge through the opening in the levelling bases
- Push the levelling wedge through until it clicks into place
- Repeat for the next levelling base
- Tighten the wedge and the base together using the levelling pliers, until the tiles are level
- Lay further tiles and repeat until tiling is complete
Once your adhesive has fully cured, you can tap the wedges with a rubber mallet to remove them. The levelling bases are designed to snap, leaving the bottom part below the surface of your tiles, so it won’t interfere with grouting. If the bases breaks unevenly - which can occasionally happen - you can easily cut it down using a Stanley knife.
It’s important to note the following:
- You will need to use a minimum of two levelling bases per tile edge
- These should be fitted along the edge, not at the tile corners
Do I need to use spacers with a levelling system?
Our levelling bases are available in 2mm and 3mm widths. These are designed to produce consistent grout joints, so can be used in place of traditional tile spacers. However, if you prefer to use larger grout joints - such as 5mm - you can lay spacers in conjunction with the levelling bases.
Can levelling systems be used with outdoor tiles?
Most levelling systems are designed for indoor tiling and will work with tiles up to 12mm thick. You may need to use a levelling system that’s designed for thicker tiles, if you’re planning to use a system with outdoor tiles that are 20mm thick.
What size tiles to use with tile levelling systems
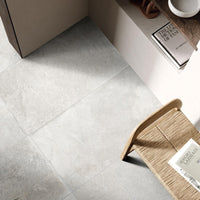
Porcelain tiles can - and do - bow over their length. While this bowing isn’t particularly obvious in smaller tiles, it can present a problem with longer wood effect planks or large format tiles, especially if they’re laid with an offset or brick bond. Therefore, we recommend that tile levelling systems are used with all wood effect tiles and large floor tiles over 30 x 60 cm in size.
However, as they are so simple and cost effective, we recommend using a tile levelling system with smaller tiles as well. For example, if you are tackling a DIY project with 45 x 45cm tiles, a tile levelling system will help you achieve a beautiful, consistent finish.
Can I use a levelling system with wall tiles?
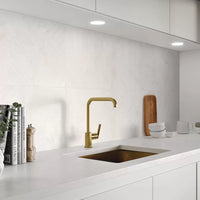
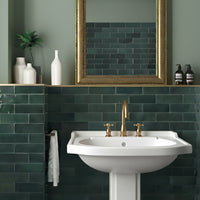
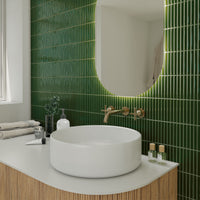
Of course! Using porcelain tiles on wall is very popular, especially in bathrooms with luxurious 60 x 120 cm marble effect slabs. You can use a levelling system in exactly the same way, to help you achieve a perfectly flat finish.
