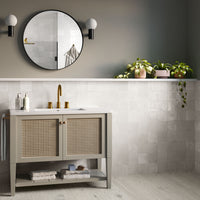
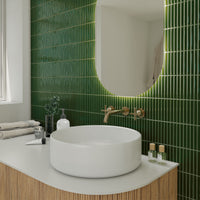
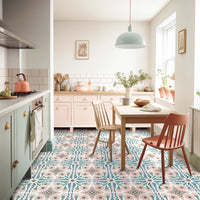
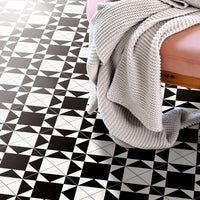
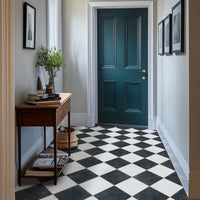
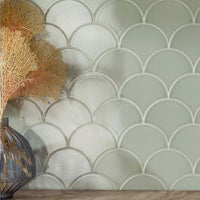
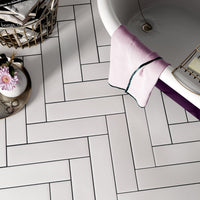
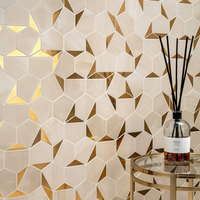
We understand that when you're designing a new room, choosing grout isn't your number one priority. After all, there's exciting tile samples to look at, or fabulous paint swatches to consider. And anyway, grout is just grout, isn't it?
Well actually, it isn't. Grout should be considered as a fundamental choice in your interior scheme: the right grout colour will only help to elevate your new space and help it look great for years to come.
In this article, we'll take you through everything you need to know about this humble material. It's a must read, whether you're tacking a DIY project or employing a professional tiler. After all, grout plays a vital role in any tile project, as we shall see. 
What is tile grout?
Grout is used to fill and seal the grout joints between individual tiles. Made from either cement or epoxy resin, it serves two main purposes:
- To form a durable barrier that stops dirt or moisture penetrating behind the tiles.
- To provide an attractive finish to to your tiles and ultimately, to your room.
You must always use grout joints between tiles, as they allow the tiles to move ever so slightly, preventing cracks or further issues down the line.
How to choose tile grout
In the not so distant past, grout choices were very limited. However, as tile design has evolved, so too has grout. So when it comes to choosing the right grout for your project, there's three things to consider:
- Which type of grout to use.
- Which colour grout to choose.
- What size grout joint to use.
1. Which type of grout to use
The vast majority of tile grouts are produced from either cement or epoxy resin. Both types of grout can usually be used on wall or floors throughout your home, on your patio outside, or in commercial projects.
Lets take a closer look at each:
Cement based grouts such as our Grout 3000 range are more popular for residential use. Less expensive and easier to use than epoxy grouts, they are more susceptible to stains so should be sealed after installation.
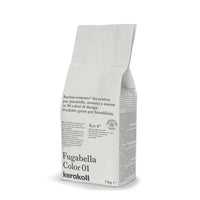
Epoxy grouts such as our Fugabella range are perfect for more technical or high-traffic situations, as they are very resistant to water, stains and general wear.
Traditionally, epoxy grouts were seen as difficult to work with. However, this is no longer the case - and as the number of epoxy grout colours has increased dramatically, so too has their use in residential projects.
2. Which colour grout to choose
Whilst they're a relatively small element of any interior, grout joints can steal the show or seamlessly blend into your decor. It's fair to say they pack an over-sized design punch.
And while there's no right or wrong grout colour for a particular tile, it's clear that your choice of grout colour needs some thought. There's three ways to consider your choice of grout colour:
- Do you pick a grout colour that contrasts against your tiles?
- Do you pick a grout colour that coordinates with your tiles?
- Do you pick a grout colour that compliments your tiles?
Lets take a closer look at each option:
Contrasting grout colour
To really make your joints stand out - and become a design feature in their own right - we recommend choosing a contrasting grout colour.
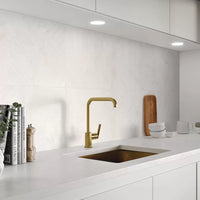
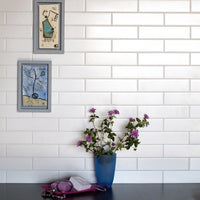
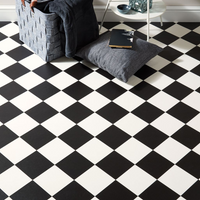
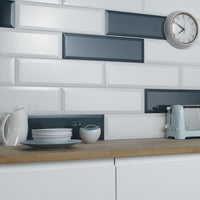
It's a really simple way to make a statement and works particularly well with wall tiles - the classic example is pairing a dark grey grout with plain metro tiles.
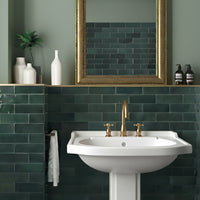
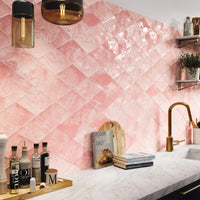
If you find the idea of maximum contrast a little overwhelming, why not use a more colourful grout? A blush grout will standout against glossy white wall tiles, without dominating the room.
Co-ordinating grout colour
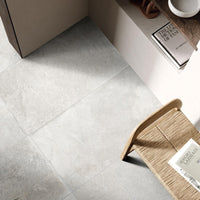
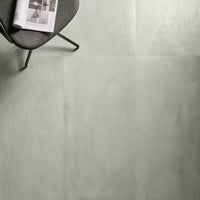
Co-ordinating your grout and tiles is a surefire way to make your interior feel more spacious and harmonious. This combination works particularly well with floor tiling. For example, in a modern kitchen extension with concrete-style tiles, a matching grout colour will make the floor feel more uniform and seamless.
A tip from us - it can be difficult to match the grout shade exactly. In this case, its usually better to choose a grout colour that's a shade lighter than your tiles.
Complimentary grout colour
Sitting somewhere in the middle of the above two options is the complimentary grout colour. In other words, choosing a grout that will make your grout joints stand out a little, without distracting from the overall tiling effect.
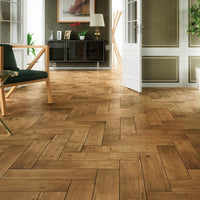
If you're laying wood effect tiles, for example, then a slightly different grout colour will help to define the staggered nature of the planks.
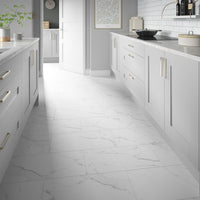
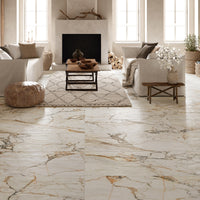
Or if you're using white marble tiles, a pale grey grout wont detract from the gorgeous design, but will tie in with the light veining.
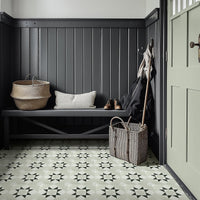
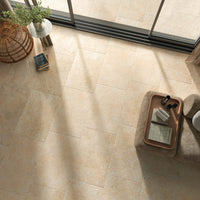
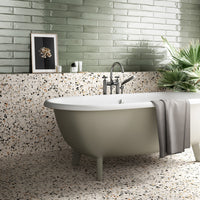
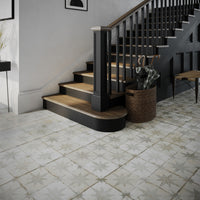
Some tiles - such as some stone-effect or patterned designs - have plenty of colour variation. We recommend picking a grout colour that compliments the dominating colour of the tiles, or the main background colour.
3. What size grout joint to use
Over the last decade, grout joints have become smaller as the size of tiles has increased. And there's a lot to be said for a smaller gap - there's less grout to potentially stain over time, for example.
However, this doesn't always mean you should pick the thinnest tile spacer available. Instead, you should consider the tiles you've chosen, where they're being laid and the overall style you're looking to achieve.
- For a modern finish, combine rectified tiles with a small 2mm grout joint.
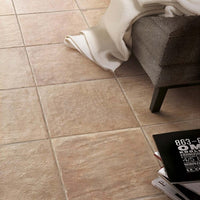
- Modular floor tiles offer a rustic look and should usually be laid with a larger joint.
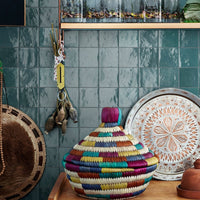
- Many tiles have tumbled or wavy edges and require a larger joint.
- Outdoor tiles required a minimum 5mm joint.
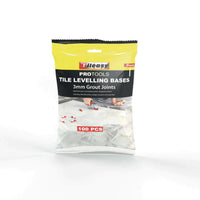
You can view our range of tile spacers here.
How to mix grout
We recommend staying away from ready-to-use grouts, so you'll almost always need to mix your grout with water before applying. While you should always read the manufacturers instructions, there's a couple of golden rules to follow:
- Wear gloves, goggles and a mask. Cement-based grouts contain Portland cement, which can cause irritation.
- Check how much water you'll need to use as too much can weaken or discolour your grout.
- Always add grout to clean water, not the other way around.
- While you can mix by hand, a paddle mixer or paddle attached to an electric drill is preferred.
- Always mix at a low speed, until you reach a smooth consistency with no lumps.
- You may need to let your grout sand for a couple of minutes, before re-mixing.
How to apply grout
Grouting yourself? Don't fear, its relatively straight-forward and you will only need a few specialised tools - a rubber grout float, trowel, grout sponge and a washboy.
- The first step is to make sure your tile joints are completely clean - so there's no adhesive, dirt or debris that might impair your final results.
- Make sure that any spacers or levelling clips are removed or fully embedded behind the tiles.
- Next, use the trowel to place the mixed grout onto your grout float and then onto your tiles.
- Holding the grout float at a 45 degree angle, move diagonally across the joints to fill them with grout.
- Always work to small areas at a time, to ensure the joints are completely filled
- Remove any excess grout off the tiles themselves, once it starts to stiffen
While you can use a damp sponge and bucket of water to clean the grout off the tiles, we recommend using a washboy cleaning kit. These are designed to speed up the grouting process and help to ensure a perfect finish.
- Always ensure your sponge contains as little water as possible
- Move the sponge in a circular motion across your tiles, to wipe away excess grout and even up the joints
- Clean the sponge by dipping it into the washboy bucket
- Drag the sponge back and forth across the rollers, to remove as much water as possible
- Repeat these stages until your tiles are clean
- Once the grout has hardened, polish and buff the tiles with a dry clean cloth
Regularly change the water in your washboy bucket and be careful not to use too much water, as this can weaken or discolour your joints.
Does grout need to be sealed?
Epoxy grout is very resilient to water and stains, so it shouldn't need to be sealed. However, we recommend that cement-based grouts are sealed, as they are more susceptible to staining.
Our LTP Grout & Tile Protector will help to prevent stains, oil, mould and mildew from penetrating into the grout. You should apply the protector as soon as the grout has fully cured. As it's a spray, it's very easy and quick to work with, especially over larger areas.
Using another sealer? Always ensure that it can be used on grouts and isn't intended for use solely on porous tiles.
You may need to reseal your grout joints over time, as the protection may wear away. You can test the protection by sprinkling some clean water on the grout joint - if the water soaks into the grout, then you will need to reapply the sealer.
How do I clean grout?
As we've discussed, cement-based grout can stain over time. Cooking oils and spills may stain your new kitchen grout, while soaps and shampoo residues may discolour bathroom grouting.
Luckily, you can clean grout joints using either with a homemade solution or a commercial grout cleaning product.
To make your own cleaner, simply mix two parts of bicarbonate of soda with one part water into a thick paste - you can add some white vinegar for more stubborn stains. Using an old toothbrush, apply this paste onto your grout joints and leave for ten minutes, before rinsing off. Don't use a hard brush as the bristles may damage your grout.
For more intensive cleans, use a dedicated grout cleaning product such as our LTP Mouldex spray.
Can I use white grout on floors?
Where possible, we wouldn't recommend using white grout on your floors. It will stain! Light grey grouts are absolutely fine while darker grouts are perfect for high traffic areas, as they wont show dirt or grime as much.
What grout should I use outside?
If you are fixing 10mm or 20mm tiles to a concrete slab outside, you can use our Grout 3000 and Fugabella products.
You can also use our ProPave grouts, which are designed solely for external use. These are applied either wet or dry depending on the substrate underneath. For further details, please read our Guide To Installing Outdoor Tiles.
What grout should I use in very wet areas?
While you can use cement-based grouts in very wet areas - such as wetrooms and showers - we recommend using epoxy grouts for areas that are permanently submerged, such as swimming pools and fountains.
Can I butt tiles up together?
We always advise that grout joints are included between tiles. Tiles do move slightly and the joint will absorb some of this movement, even when filled with grout. Otherwise, there is a high chance that your tiles will crack against each other.
Can I match wall and floor tile grout lines?
We only recommend aligning your wall and floor grout joints if you use the same tile throughout. The tiles must be rectified and from the same batch. You should discuss your requirements in advance with your tiler to ensure they understand your expectations.
Can I grout over old grout?
Unfortunately not - there's a much higher chance of your new grout cracking, so we recommend raking out your old joints before applying fresh grout.
Furthermore, your grout joint should also sit below the surface level of your tiles.
And a few things to remember...
- Crackle glaze tiles will need to be sealed before they are grouted. Otherwise there is a chance that the grout will stain the porous surface of the tiles.
- Where possible, finish your tiling project with a silicone sealant in a matching colour to your grout purchase your grout at the same time, to ensure its from the same manufacturing batch
