Installing Herringbone Tiles
Sep 9, 2021 ● By Joe
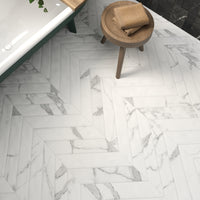
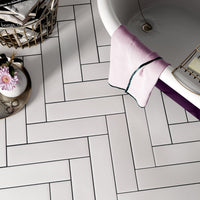
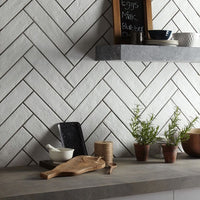
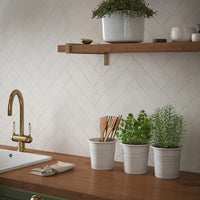
In the last few years, herringbone has become one of the top tile patterns for aspirational homeowners. It's easy to see why. A herringbone layout can add real visual impact - even with a relatively simple and inexpensive tile. The diagonal lines add extra dynamism to feature walls or kitchen splashbacks.
The pattern also tends to mask or camouflage details, such as plug sockets and light switches, that somehow seem more obvious when set in standard vertical or horizontal tile bands.
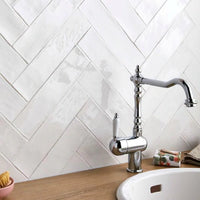
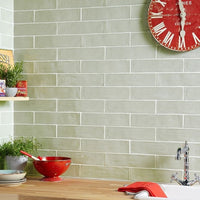
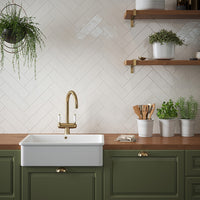
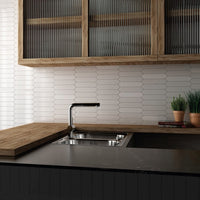
Laying Countrywide Cream in a herringbone pattern adds a modern edge to a classic kitchen
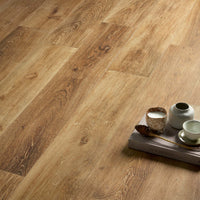
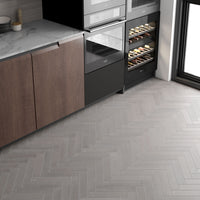
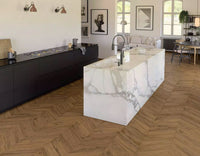
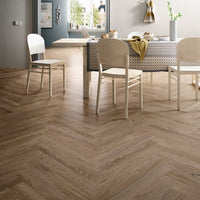
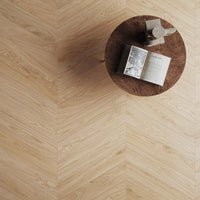
The more adventurous home owner has also realised that herringbone not only delivers with classic tile formats, such as 10 x 20 cm metro, or 10 x 30 cm brick formats. They're now exploring the potential of herringbone patterns with wood-effect tiles in a 15 x 60 cm plank format, or plain narrow-gauge 5 x 20 cm brick tiles such as Elements Brick Matt.
With herringbone, the design options are pretty limitless. But one factor still puts homeowners off; fear of the right way to achieve this beautiful on-trend look.
At Porcelain Superstore, we’re here to help, so we have compiled this simple 'how to‘ guide to take you, step-by-step, through the herringbone tiling technique. This guide looks at wall tiling, but the same basics also apply to herringbone floors.
Choosing The Right Tile
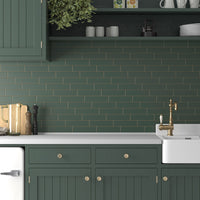
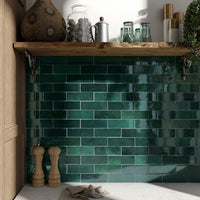
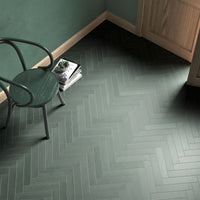
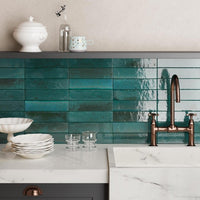
The first step is selecting the right tile. If you're not a confident decorator, then we'd suggest a rectangular tile. This is the ideal shape because of its size and length - our Opal Emerald design in 7.5 x 30 cm will work perfectly for a herringbone pattern. However, there's plenty of other sizes and styles to choose from! Two of the most popular tiles with our customers are shown below:
Once you have chosen your tile and measured the area to be tiled, you need to calculate the number of tiles required. Your calculations will differ depending on the size of tile you choose and will also be affected by any electrical outlets or appliances you need to cut around.
Pro tip:
Always purchase a further 10% to allow for wastage on cut tiles, mistakes, and breakages.
We also suggest dry laying your herringbone tile pattern. This will make sure that you get the positioning correct before you start installing.
What you'll need to install your tiles
Before mixing any adhesive, check that you have all the necessary equipment. This is fundamental with any installation and makes the whole process smoother and less stressful.
We suggest, as a minimum:
• Tape Measure
• Set Square
• Spirit Level
• Manual Tile Cutter
• Adhesive
• Notched Trowel
• Tile Spacers
• Tile Trim (if required)
• Grout
• Grout Float
• Sponge to clean off excess grout residue
• Bucket
• Silicone Sealant (if required)
• Caulking Gun (for sealant)
While not essential, these optional tools may prove useful: tile saw, tile file, tile scorer, pencil/sharpie, and masking tape. We recommend that you always use appropriate safety gear, particularly safety goggles, when cutting tiles.
How to position your tiles
Before you lay any tiles it is crucial to determine the centre line of your herringbone pattern and mark this clearly with a sharpie or builder’s pencil. Then, at the midpoint, draw a straight vertical line to the top of the wall using the spirit level.
The next step is to lay out and pre-cut the first set of tiles so that you know you are getting the positioning correct. Lay out the dry tiles at a 45° angle and check carefully that you have measured, placed, and cut them correctly. Once you reach the edge of the tiled area, it’s likely some of your tiles will need to be cut to fit. Mark them accordingly with masking tape and number them so that you can remember the correct order.
Cutting & Installation Tips
When it is time to cut the tiles for your gaps and overhangs, for triangle gaps, use the combination square to measure 45° angles from one corner of each tile and mark the angle using masking tape. Cut your tiles using the tile cutter. At this stage, a tile scorer can come in handy should you need to add any pressure to the cutting line.
Once you are happy with the dry layout, actual tile laying can commence.
- Carefully apply the adhesive to the wall in small sections and begin placing the tiles in a herringbone pattern, working up and outwards from the centre line until complete.
- Place your centre triangle onto the wall first and work your way out, width wise.
- Check with the set square to ensure you have established a 45° angle with the first row of tiles. When applying the adhesive, hold your trowel at a 45° angle for an even spread.
- Don’t forget to add tile spacers to ensure a perfect and consistent grout gap. Always wipe away any excess adhesive with a damp cloth as you go.
- Always finish one full row of a herringbone pattern before progressing up the wall.
- Remember to apply a spacer in the last tile that meets the tile trim so there's a suitable grout gap. This will ensure a neater finish!
- Leave the adhesive to dry, remove the tile spacers, and give the tiles a quick clean with a sponge and warm water.
Pro tip:
Apply adhesive in small sections, no larger than one metre square, as it will dry quite quickly.
Grouting
Leave the adhesive to dry thoroughly (this will depend on the type of adhesive chosen) before grouting. Once dry, apply the grout with a grout float, working it in between each tile until all joints are fully filled. Wipe over with a damp sponge to get rid of any excess grout residue.
Pro tip:
If you have sensitive skin, wear latex gloves to protect your hands from cement-based grout.
Before grouting or tiling, always switch off your electric supply at the fuse box as you will be wiping down the tiling with a damp sponge or cloth.
Finishing Touches
You're nearly ready to enjoy your new herringbone tiles. There's just a couple of things to ensure a standout finish:
- It's common practice to seal around the edges with a silicone sealant in the same colour as your grout.
- If you deem it necessary, tile trim can be applied to the raw edges of the design for a sleek finish.
- If required, rough edges of cut tiles can be smoothed off using a tile file.
- Leave your tiles overnight, and then give them a proper clean and buff the following morning.
- If you are going to use a grout protector, it should be applied now
Need a little more herringbone inspiration? Please click here to find out more!

