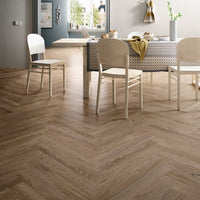
If you’re planning on fitting a newly tiled floor, you’ll naturally want to reduce the chances of your beautiful tiles cracking over time.
While porcelain tiles are designed to last, they can sometimes crack due to movement in the floor below. Flexible tile adhesives can absorb some of these stresses, but for ultimate peace of mind, you’ll need to use an anti-fracture mat.
What does an anti-fracture mat do?
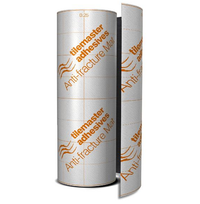
Simply put, an anti-fracture mat sits between the floor substrate and the tiles above, allowing them to move independently of each other. The technical term for this is decoupling and it helps to prevent any lateral movement in the substrate transferring through to the tiles - which could potentially cause them to crack or come loose.
The principle behind decoupling has been around since Roman times. However, rather than a thick bed of mud to divide the flooring layers, our Tilemaster Anti-Fracture Mats are highly engineered using the latest polypropylene materials. This means they’re:
- Quick to install
- Simple to use
- Slim and lightweight
- Cost effective
- Versatile for many substrates
Do I need an antifracture mat?
There’s a lot of confusion surrounding anti-fracture mats and when they should be used, with the most popular myth being that they’re only for larger floor areas.
While there’s an element of truth in this - anti-fracture mats should almost always be fitted to larger floors - they should also be considered for most flooring projects, for example if you’re tiling:
- an existing concrete slab, where small cracks are present
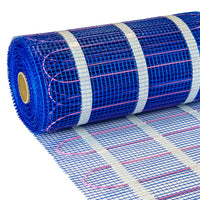
- over underfloor heating, which can cause movement stresses due to the hot and cold cycle
- onto timber, which can swell due to changes in moisture
- onto a new concrete slab, which may shrink over time as it fully cures
Therefore, we recommend that anti-fracture mats are considered in a majority of flooring projects.
Where anti-fracture mats can be used
Although it consists of three layers, our Tilemaster Anti-Fracture Mat is only 0.85mm thick. This ensures there is minimal height build up, so it’s well-suited to both new-build and renovation projects. The mat can be laid over a variety of substrates in both residential and commercial applications, including:
- concrete
- plywood
- tile backing boards
- existing tiles
- anhydrite screeds
Please note that it’s not recommended for outdoor use or in swimming pools.
How to install anti-fracture mats
Our Anti-Fracture Mats come in a roll that’s 1m wide and 20m long. Easy to cut and simple to install, they can be tiled onto almost immediately, so there’s little delay to your project.
- Firstly, sweep the substrate clean and ensure any dirt or grease is removed
- If the substrate is uneven, we recommend applying a layer of levelling compound
- Prime the substrate to improve adhesion
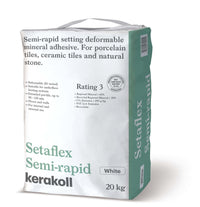
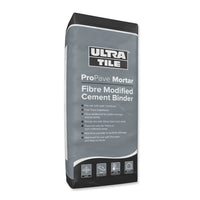
- Use a 3mm notched trowel to apply a thin bed of Rapid Setaflex Grey adhesive
- Roll the Anti-Fracture Mat onto the tile adhesive
- The mat can be cut around obstacles or at walls using a Stanley knife
- Butt-joint the edges of parallel rows; do not overlap
- Use a roller or the flat edge of a trowel to fully bed and compress the mat into the tile adhesive, so there’s no air bubbles underneath
- Remove any excess adhesive that squeezes through the joints between individual rows
Once the mat has been installed, you can immediately tile over the mat - we recommend referring to our How To Tile A Floor guide for further information.
If you require any impartial guidance in this area, we suggest that you visit The Tile Association where you can source technical advice on all aspects of tiling.

