1. Plan Your Layout
When it comes to tiling floors, failure to prepare is certainly preparation to fail. The number one rule is to carefully plan ahead - so pick up your notepad, dust off your pencil and sketch out your favourite layouts. Think about where grout lines and cuts will fall as you’ll want your room to look balanced and symmetrical; door thresholds and floor obstructions will also need accounting for.

Once you’re happy, it’s worth dry-laying the tiles to check the layout works. If you're using decorative tiles, you can also play around with the different patterns at this stage. And who said tiling wasn't fun!
2. Finished Floor Height
At the same time, you’ll also have to consider the build-up of your floor. Backing boards, underfloor heating mats and adhesive can easily add an inch to your substrate, before you’ve even accounted for the depth of your tiles. If you’re refurbishing a room, you might need to shave the bottom of your doors to allow for this extra height or amend the levels of any worktops and cabinets accordingly.3. Stripped back
We’re often asked if you can tile on top of existing floor covering. While the answer’s often - but not always - yes, we think it’s usually best to strip things back and start over again. You see, like a good prima-donna porcelain tiles can be a little picky. They’re not big fans of movement or bumps in the subfloor and in any case, you’ll want to ensure any underlying issues are resolved. Once you’ve removed your current floor, you’re generally left with a solid concrete base or timber floorboards to work from:Timber Floorboards
Take it from us - tiling directly onto floorboards is a definite no-no. There’s just going to be too much movement and flex which will eventually cause your new tiles to lift or crack. Chances are though, you’ll be working with wood, especially if you live in an older property. But don’t worry, you can still have your dream tiled floor; this is exactly what tile backing boards were made for. Tightly screw down your existing floorboards, over board with our No More Ply sheets and voila - you have a rigid, flat surface that’s perfect for tiling.Concrete
If tiles like a strong and stable sub-floor, then surely concrete is the perfect base to tile to? Generally speaking, yes, but there are a few rules to follow. The existing concrete will need to be level, sound and free of any imperfections and cracks. Before tiling, brush and vacuum the surface then seal the porous surface with a suitable primer - this will help create a stronger bond with your tiles.4. Get Things Level
Whether you’re refurbishing a room or working in a brand new space, you’ll need to ensure your floor is completely level. Fact - floor tiles like a base that’s flat as a pancake, especially larger plank tiles. And whilst tile adhesive can help level out any minor undulations, we’d recommend pouring a layer of self-leveller to smooth out larger gaps and bumps. It’s also great if you’re planning on fitting underfloor heating mats; by burying the cables you’ll gain a flat surface for tiling and remove any chances of potentially damaging the wires.5. Allow For Movement
At the risk of sounding like a record stuck on repeat, whether your new tiles are being laid onto an old wooden floor or a new concrete slab it’s vital to think about movement. Even seemingly solid substrates can shrink and expand over time and if these stresses aren’t dealt with, they can lead to fractured tiles. Traditionally, a combination of movement joints and expansion gaps was the answer but these days, anti-fracture mats are more common. These ‘uncouple’ the tiles from the floor below, neutralising any stress between the two layers. Although British Standard states that the building designer should decide where movement joints be located, we think it’s best to err on the side of caution and opt for anti-fracture mats wherever possible.6. Adhesives
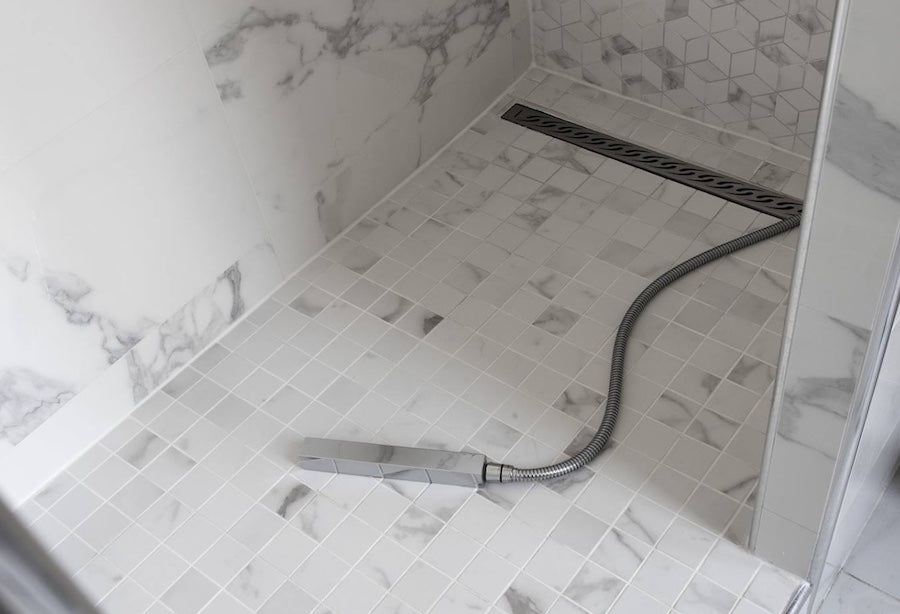
Heard that one about a bad workman blaming his tools? While you’ll always want to use a good installer, it pays to make sure they’re using the correct adhesive for the job in hand. Porcelain floor tiles should always be laid with a flexible, cement-based adhesive from a reputable brand. A high performance tile adhesive should accommodation some movement and vibration, whilst offering exceptional adhesion and a choice of slow or rapid setting times.7. Waterproofing
If you’re tiling a wetroom or bathroom floor, it’s vital to waterproof the substrate and seal the room. Whilst porcelain tiles are non-porous, water can seep down through the grout joints into the substrate below. For the ultimate belt and braces approach, fit DeltaBoards to your substate and tank the joints to ensure a watertight seal.