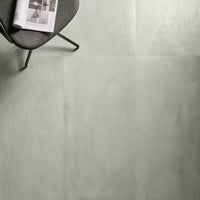
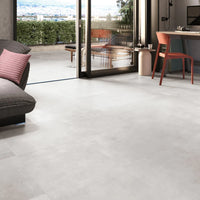
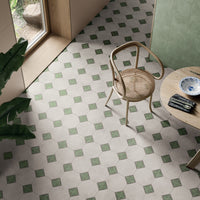
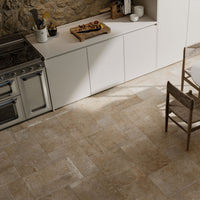
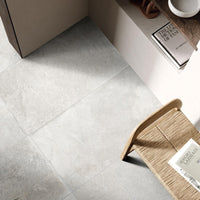
The Spring bank holiday weekend is just around the corner and that can only mean one thing… it’s time to dust down the tools, pop the kettle on and get cracking with some DIY!
Although most of us are more than happy to pick up a paintbrush, tiling can seem quite daunting at first. So if you’ve been putting off fixing those new tiles you’ve ordered, this guide is for you. With a little planning and preparation, there’s no reason why you can’t give yourself a finish to be proud of, especially if you have a bit of DIY experience.
The actual laying of tiles can be pretty straightforward – if your room is perfectly flat and tidy to begin with. But unfortunately, when it comes to tiling you can rarely lay down a dust sheet, get cracking and be finished in time for lunch – a professional could easily spend a whole morning arranging his space and preparing his tools before he even takes out a tile.
We asked a few of our favourite tilers to give us their all important tips to follow when tiling. We can’t guarantee the weather, but we’re pretty sure if you follow these rules then you’ll have a new room to brighten any home!
Straighten Up
If there’s one thing that our expert tilers really agreed on, it’s the need for a level base to tile to. As they say, if a job’s worth doing it’s worth doing well, so any uneven floors must be sorted out. Otherwise they’ll cause obvious problems further down the line, especially with larger format tiles.
Thankfully, you don’t necessarily have to go to the expense and hassle of ripping out existing walls and floors and starting over again. For most uneven floors, you can pour over a self levelling compound which will flow to a smooth flat finish, perfect for tiling onto. Our Rapid Level 30 compound sets in under an hour, so by the time you’ve had a tea break you’ll be ready to go.
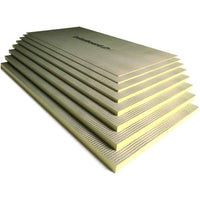
At a minimum, use new plasterboard on any ‘dry’ walls, but make sure no plaster is applied as this reduces the weight the boards can take. Or better still, use our Delta Board construction boards. These are designed for tiling and they’re completely resistant to water, making them the perfect choice for bathrooms and wet areas. Be sure to use a tanking kit and waterproof the joints between boards for ultimate peace of mind.
Failure to Prepare
Sure, it’s a classic tip but the age-old adage that ‘failure to prepare is preparation to fail’ was surely written about tiling. And the most important tools to ensure a top class finish? All our experts were in agreement on this – a pad of paper and a pencil.
So don’t be tempted to open a box of tiles and dry lay them. It’s best to sketch the room out on paper and plan your pattern – it’s easy to see where your tiles will end up, what cuts will be required and where every piece will go before you’ve laid the first one.
Once you’re happy you can move onto setting everything up. You want to make sure your tools are at a good working height, dust sheets are down to protect nearby carpets and everything you’ll need is close by. Once you get started you’ll soon be working at a slow but steady pace of measuring, cutting, mixing and fitting.
The Right Tools
Heard the one about the poor workman blaming his tools? Of course, we all have. And tiles – whether ceramic, natural stone or porcelain – can be tricky to work with if you haven’t got the right gear.
Although most angle grinders can cut through even the hardiest of porcelain tiles, we’d only recommend using them for the fussiest of small, detail cuts. Instead, we’d recommend hiring both a manual and electric tile cutter, or purchasing if you’ll have more tiling jobs in the future. Manual cutters are a quick way to give you straight tile cuts for around the edges of the room, whereas an electric wet cutter will help with any fiddly cuts and awkward shapes. You’ll also need specialist drill bits if you need to cut pipe holes into porcelain tiles.
Take it from us – wet cutters can be pretty messy so if you’re using them inside, be sure to cover up the rest of your room and keep an old towel handy to dry off your cuts.
Take Your Time
Rome wasn’t built in a day so don’t worry if your job isn’t finished as quick as you’d hoped. Instead, it’s best to go slow and make sure everything’s done right. By following the ‘measure twice, cut once’ rule and dry laying tiles before you stick them down, you’ll be able to spot any potential problems before they arise, saving you time in the long run. When you’ve ready to go, work in small sections and be fussy – continuously check the levels of your tiles to keep lippage to a minimum.
Unless you’re fitting ceramic wall tiles, you’ll be using a powdered, cement-based adhesive which needs to be mixed with water. It’s best to mix using an electric drill with a paddle attachment – this can be a little messy so do this outside if you can. We think standard setting adhesives are usually the best bet for DIY jobs. They have a longer ‘open time’ so you’ll be able to work at your own speed, rather than racing to lay tiles before the adhesive hardens.
Clean As You Go
Once you start laying your tiles and find your rhythm, it’s tempting to go up a gear. Stop! If there’s one tip we really must emphasise it’s the importance of having a bucket of clean water and a sponge to hand. Keeping your tools and tiles clean might slow you down a little but trust me, scrubbing hardened adhesive off a trowel the next morning isn’t much fun unless you’re Popeye.
It’s also vital to keep the joints between tiles as clean as possible. As you twist tiles into place adhesive will invariably squeeze up through the gaps. Be sure to wipe this excess away and keep the edges of your tiles clean – otherwise any lingering adhesive might discolour your grout and you’ll have a messy remedial job on your hands.
Devote the last hour or so to tidying up – disposing of waste cuts, cleaning tools and wiping everything down.The next morning, you’ll be able to jump straight back into it when you’re at your most productive.
Have you got any bank holiday tiling jobs planned? Send us a picture of your completed jobs before the end of May and we’ll give you 10% off your next order with Porcelain Superstore.
