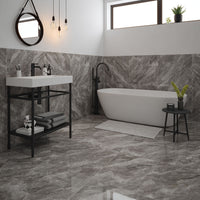
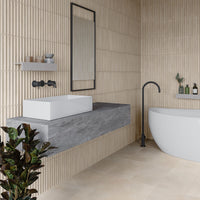
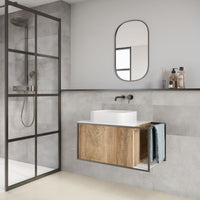
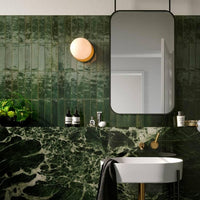
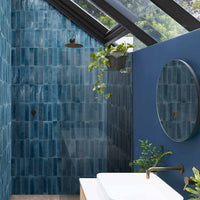
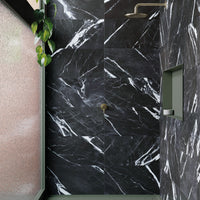
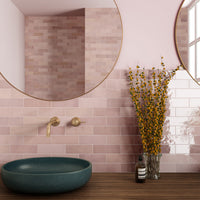
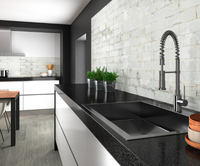
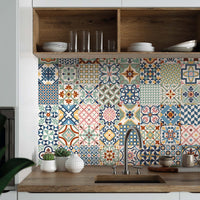
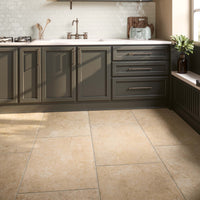
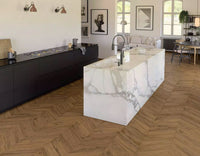
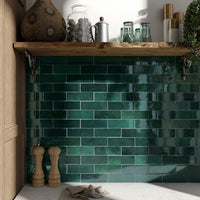
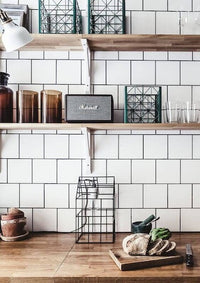
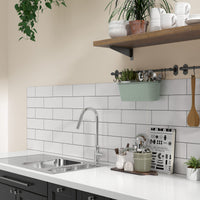
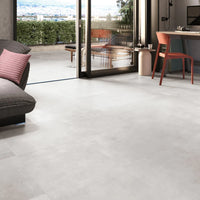
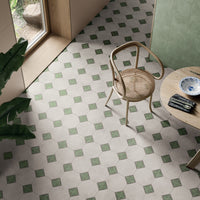
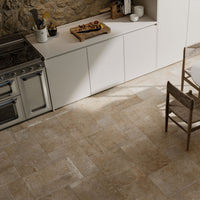
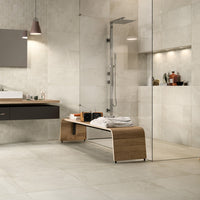
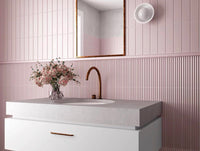
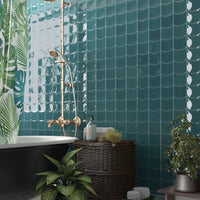
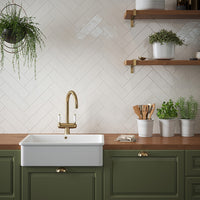
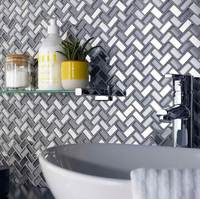
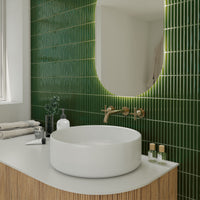
Our ceramic wall tiles are guaranteed to add style to your space but it’s vital that they’re correctly installed. That’s why we always recommend hiring a professional tiler - they’ll be best placed to advise on the specifics of your space
However, if you are looking to tile yourself, smaller ceramic wall tiles are a great place to start - especially if you’re a dab hand at DIY.

This guide covers the basics of what you need - and what you need to know. Please bear in mind that we can’t possibly cover all bases as every home is completely unique.
What’ll you need
Aside from the obvious - your tiles - there’s quite a few other things you’ll need. Here’s a list to get you started.
- Tile adhesive and grout
- Primer
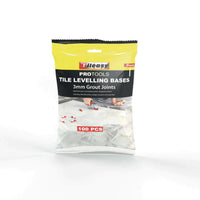
- Spacers
- Tape measure
- Builder’s pencil
- Notched trowel
- Tile cutter
- Grout float
- Washboy
- Bucket and sponge
- Spirit level
- Rubber mallet
- Safety gear (gloves, goggles and knee pads are a must)
- Timber batten - 2 x 1” is usually fine
Depending on your project, you may also need:
- Silicone sealant
- Sealer
- Tile trim and a hacksaw to cut
First things first
A seasoned pro will tell you then when it comes to that flawless finish, the key’s all in the prep.
So whether you’re re-tiling a smaller splashback or looking to overhaul your entire ensuite, it’s vital to invest some time upfront. Get those wall nice and flat, the dust sheets down and the tools ready to go… you won’t look back.
Plan the layout
For the purposes of this article, we’ll assume you’ve already decided on your tiling pattern.
Once you’re settled, you need to ‘set out’ the exact position of your tiles to make sure you’re happy. While we prefer to draw this out on a sheet of graph paper, you can mark the position of the tiles on the wall itself or even lay them out.
- A symmetrical look is usually preferable, with a grout joint in the ‘centre’ of the wall
- Try and plan so that you avoid smaller cuts in the corners
- Don’t forget to allow for grout joints between tiles
Correct adhesives
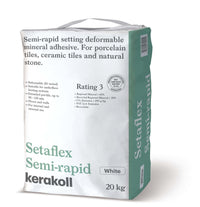
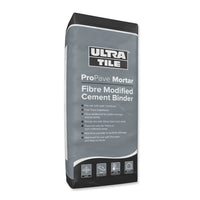
For wall tiling, we recommend using a standard-setting cement based adhesive such as this. As the name suggests, these take longer to dry out than ‘rapid-setting’ adhesives so you’ll have more time to work with a mix - and adjust tiles where necessary!
The colour of the adhesive is usually determined by the chosen grout colour, so use
- White adhesive for pale grout colours
- Grey adhesive for grey and darker grout colours
To mix the adhesive, you’ll need a drill and paddle mixer:
- Add adhesive to clean water in a bucket, as per the manufacturer’s instructions
- Start on a slow speed and mix until the desired consistency is reached
You can also use ‘ready mix’ paste adhesives with ceramic wall tiles, which don’t require any mixing.
However, cement based adhesives adhere much better - we’d recommend only using ready mix adhesives for tiles that measure 10 x 10 cm and under.
Choosing the right trowel
You’ll need to use a notched trowel to spread the adhesive onto your wall. These feature either U or Square notches, in a variety of sizes.
Choosing the right size trowel is really important - you need to ensure there’s a full bed of adhesive behind a tile. For help determining which size trowel you need, please take a look here.
Preparing your surface
So, we’ve determined our layout, chosen our adhesive and picked our trowel of choice. There’s just one last step before we get going - making sure the substrates - that’s the surface we’re going to be tiling - is ready to go.
This means it should be:
- Flat, level and dry
- Free of any dust or dirt
- Where necessary, primed with a suitable primer. Never use PVA.
Let’s take a quick look at some of the most common substrates in the UK:
Skimmed plasterboard
- Plastered walls usually require 4 weeks minimum to dry out
- The maximum weight when tiling to plaster is 20kg per square metre
- If the skimmed surface is quite polished, we’d advise scratching with a stiff wire brush to roughen it up
Bare plasterboard
- The maximum weight when tiling to bare plasterboard is 32kg per square metre
- Ensure the boards are screwed into the studwork behind at 300 mm centres
Existing tiles
We don’t advise tiling onto existing tiles, but if you must then ensure they’re fully bonded to the original substrate. Any loose tiles must be removed and made good.
Tile backer boards
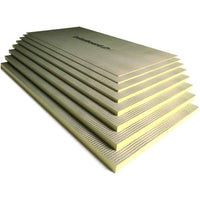
Dedicated tile backing boards are always our preferred substrate, especially in wet areas.
- Best to use 10mm thick boards
- You can screw these into timber studwork with centres at 300 mm
- Or fix to solid walls using a thin later of tile adhesive
- The maximum weight when tiling to tile backing boards is usually 50 kg per square metre
Please remember to include the weight of the adhesive and grout - as well as the tiles - when considering the weight per square metre.
Waterproofing
If you’re going to be tiling a ‘wet area’ such as a shower cubicle or around a bath, we’d advise using foam tile backing boards, where possible.
These are generally highly resistant to water, if installed correctly - you’ll need to attach waterproofing tape and corners to the joints and edges between individual boards. Tanking pastes can then be used to further seal these joints and any screw heads.
Priming
Just before you start tiling, we recommend priming your surface with a suitable primer. It’s a vital - yet often overlooked - component of tiling.
This helps to stabilise and seal the surface, increasing the strength of the adhesive bond and prolonging the ‘working’ time. Usually, you want the primer to be touch dry before applying the adhesive.
The tiling itself...
The floor, bath or worktop at the bottom of the wall isn’t always flat, so it’s actually best to start tiling from the second row up.
The time-honoured method is to nail a timber batten into your wall
- The top of the batten must level with where the bottom of your second row of tiles will be
- The timber batten must be perfectly straight
- Check the level of the batten using a spirit level
Alternatively, you can use an aluminium tiling batten system - these usually don’t require any fixing.
And go!
We’re onto the fun part, tiling. You’ll need to start at the centre of the row, and work your way out to each edge.
- Working in small sections at a time, apply adhesive to the wall using your trowel, held at 45 degrees
- This will leave ‘comb’ the adhesive, helping to ensure a full bed behind each tile
- Place your first tile on the batten, with a light twisting and pressing motion
- Place the next tile in the same way and insert tile spacers fully into the gap, so they can be grouted over
- Continue until the end of the wall, where’s it likely you’ll need to cut a tile
Continuously check the quality of your work as you go, in particular
- Are the tiles running straight?
- Are they flat with no obvious lips between tiles?
- Are they - and the joints between - clear of adhesive?
Where necessary, you’ll need to remove and re-fit tiles you’re not happy with. It’s much easier now than once the adhesive has set!
Pro tip:
Mix tiles from different boxes, to help achieve a natural and harmonious look
Cutting tiles
Unless you’re tiling a small basin splashback, it’s likely you’re going to have to cut some tiles.
Compared to porcelain, ceramic is relatively soft and most straight cuts can be made with a ‘manual’ tile cutter.
For more complex cuts, we’d recommend a ‘wet’ tile cutter - they’re safer than an angle grinder.
Pro tip:
As a seasoned pro will tell you, it’s best to “measure twice and cut once”.
Cleaning
It’s really important to clean your tools and tiles as you go.
Give the surface of the tiles a light wipe with a damp sponge to remove any adhesive residue before it hardens.
You may also need to clean out adhesive from the grout joints - if this is the case, try not to dislodge any adhesive behind the tiles.
Tile edges
It’s quite likely that you’ll have bare tile edges on show, for example:
- on an external corner
- where you have a tiled recess or niche
- where you are only tiling part-way up a wall
For a neat finish, we’d recommend finishing the edge with a tile trim - they’ll also help protect the edge of the tile.
Available in in a variety of finishes, stainless steel and aluminium ‘square edge’ trims tend to be the most popular.
Installing tile trim is pretty straightforward:
- The depth of the trim should equal the depth of your tiles
- Cut the length to size with a hacksaw
- Apply adhesive to the back of the trim lip, and position this lip behind your tiles.
- If you’re tiling an external corner, make sure the trim is flush with both tiled walls.
- For a consistent finish, remember to leave a grout joint between the trim and any tiles.
If your trim has a protective wrap on, don’t remove this until you’ve finish tiling to help keep the surface clean.
It’s worth mentioning that you don’t always have to use tile trims. If you have the correct equipment, it’s possible to mitre the edge of the tile, for a sharp and contemporary finish.
Grouting
So, you’ve fixed your tiles, fitted your trims and given it all a good clean? Great, then it’s time to get grouting!
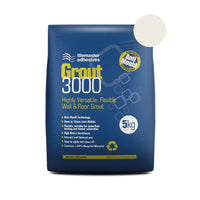
Not only does grout provide an important function - stopping moisture and dirt getting in behind the tiles - it’s also considered a key decorative element these days. Contrasting grout colours add impact and highlight your pattern; co-ordinating grouts offer a more seamless style.
- It going without saying that the adhesive needs to be fully cured
- If possible, give the tile joints a quick vacuum to remove any lingering debris or adhesive residue
- Make sure there’s no tile spacers poking through!
To mix the grout, simply add to fresh water and mix. We’d recommend using a drill with a paddle attachment and mixing at a slow speed, rather than mixing by hand.
Once the grout is at the right consistency, allow it to stand for 5 minutes and harden slightly, before remixing for another thirty seconds or so.
Applying the grout is relatively straightforward:
- Add some grout to your grout float
- Hold the float at a 45 degree angle and run the grout across the surface of your tiles
- Work in diagonal lines to your joints, to help push the grout into the gaps
- Work in smaller sections until you feel more comfortable
- Try and remove excess grout from the tiles, as you work round
Please take a look at our handy video for further information.
Cleaning
Once you’ve filled all your joints, we recommend using a ‘washboy’ set to clean - these are much, much easier to use than a normal bucket and sponge.
All you have to do is moisten (not drench) the sponge and even the joints out by rubbing the sponge in a gentle circular motion. After working a small area, clean the sponge, remove excess water by pushing along the washboy rollers, and repeat until you’ve finished.
Pro tip
Don’t use too much pressure as this may dislodge or weaken the grout joints
Grout Haze
We haven’t finished yet!
There’s a good chance that the surface of the tiles is covered in grout haze, which can sometimes be almost-invisible. Over time, this haze can cause the tiles to appear dirty as it’ll attract and trap dirt and dust.
You can easily remove the haze by polishing the tiles with a dry microfibre cloth, once the grout has almost set. For any stubborn grout haze stains, we’d recommend using a specialist grout haze remover.
Sealing tiles
Some of our ceramic tiles (especially our smaller ‘crackled’ designs) need to be sealed to protect their surface. If so, this will be noted under the Tile Specifications tab on each tile.
- Different sealers are available, and they’re almost always very easy to apply.
- For best results, we recommend sealing your tiles both before and after grouting.
- You may need to re-seal your tiles over time, depending on how often they are cleaned or come into contact with water. Tiles in a family shower will need sealing far more often than tiles laid to a ‘dry’ wall.
You can also choose to seal your grout joints, to make them more resistant to stains and spillages.
And finally
A great tiling job is part practice, part patience. So take your time - those extra few hours will be worth it, we promise!
